Articles / LORQAI
Why Do My Photos Look Blurry After Uploading? 9 Fixes to Try
A practical, step-by-step guide to fixing blurry photos after uploading, from checking the original and export to handling compression, file formats and online previews.
Why Photos Can Look Blurry After Uploading
Your picture looks sharp on your phone. Then you send it to someone or upload it to a website, and suddenly the details look soft. Did the app ruin it? Did you choose the wrong file? Or is the blurry version only a preview?
Start with this rule: compare the original, the file you uploaded, and the version you see online. They may be three different images. Once you find out which one first looks blurry, the fix becomes much easier.
Try these five things first
You can do this before learning anything about image formats:
- Open the uploaded picture fully. A small feed or chat preview may be lower quality. Wait until it finishes loading.
- Find the original in your camera roll or editing project. Avoid a screenshot or a photo downloaded from a conversation.
- Check the image dimensions. Look for its width and height in pixels, such as 600 × 400 or 2400 × 1600.
- Make a new copy from the original. Choose a suitable size and avoid the lowest JPEG quality setting.
- Upload the fresh copy and compare again. If it still looks soft, find out whether the app reduced it or the page is stretching it.
When You Need to Preserve the Original
If you need to send an important image without changes, use a file attachment or a sharing method that preserves the original—not an ordinary compressed chat photo.
Find the problem in 30 seconds
- Even the untouched original. Possible cause: Focus, camera movement or low light. Start with: Fix 2 and the note about camera blur.
- Only the version saved from an editor. Possible cause: The export may be too small or overcompressed. Start with: Fixes 3–7.
- The image only after sending or posting. Possible cause: The service may have created a smaller copy. Start with: Fixes 1, 8 and 9.
- Only the little preview. Possible cause: You may not be seeing the full image. Start with: Fix 1.
- Mainly the small text or thin lines. Possible cause: Format or resizing may be harming sharp edges. Start with: Fix 7.
Fix 1 — Open the full photo, not just the thumbnail
A thumbnail is a small image that helps a page or chat load quickly. It may look soft when enlarged even if the full picture is fine.
Do this: tap or click the picture to open it, let it load, and zoom in. If the service allows downloads, download the displayed copy and compare it with your original. Do not judge the quality by the little square in a feed alone.
If the full photo is sharp: you do not need to re-export it. The preview was the problem.
Fix 2 — Go back to the original file
A screenshot of a photograph is not the same as the photograph. A photo saved from a message may also be smaller or more compressed than the original.
Do this: look for the image you first took or the original file from your editor. If you edited it, reopen the editing project instead of repeatedly saving the shared JPEG. Keep this master copy untouched.
If the original is already blurry: uploading is probably not the cause. Poor focus or camera movement cannot be fixed merely by changing file size.
Fix 3 — Check the actual pixel dimensions
Pixels are the tiny points that make up a digital image. The number of pixels determines how much detail is available—not the file size in megabytes alone.
Do this: open the image's information or details panel. On an iPhone, open the picture in Photos and swipe up or tap the information button. On a Mac, select the file in Finder and choose Get Info. On Windows, open Properties → Details. On Android, the information/details option varies by gallery app.
Compare the original and your upload copy. A 600-pixel-wide file stretched across a large screen will generally look less detailed than a suitable high-resolution source.
Important: changing a label from 72 DPI to 300 DPI does not create more image pixels.
Fix 4 — Do not enlarge a tiny crop
If you take a small corner of a photo and make it fill the whole screen, the editor must invent new pixels between the old ones. It can make the picture bigger, but it cannot recover genuine missing detail.
Do this: crop less, start from a larger original, or use a layout that displays the crop smaller. If you are designing an image with text, make the text large enough to read at the final display size.
Fix 5 — Export a fresh copy for the place it will appear
The best export for a full-width website image may not be the best export for a chat message or a small profile picture.
Do this: start from your untouched master, choose the shape the destination expects, and export at a pixel size appropriate for that display. Keep the original proportions unless you intentionally crop. Check the result before uploading.
Avoid sending the largest possible image merely because it is large; some services resize it anyway. A clean, well-sized export is a better starting point than repeated resizing.
Fix 6 — Reduce unnecessary JPEG compression
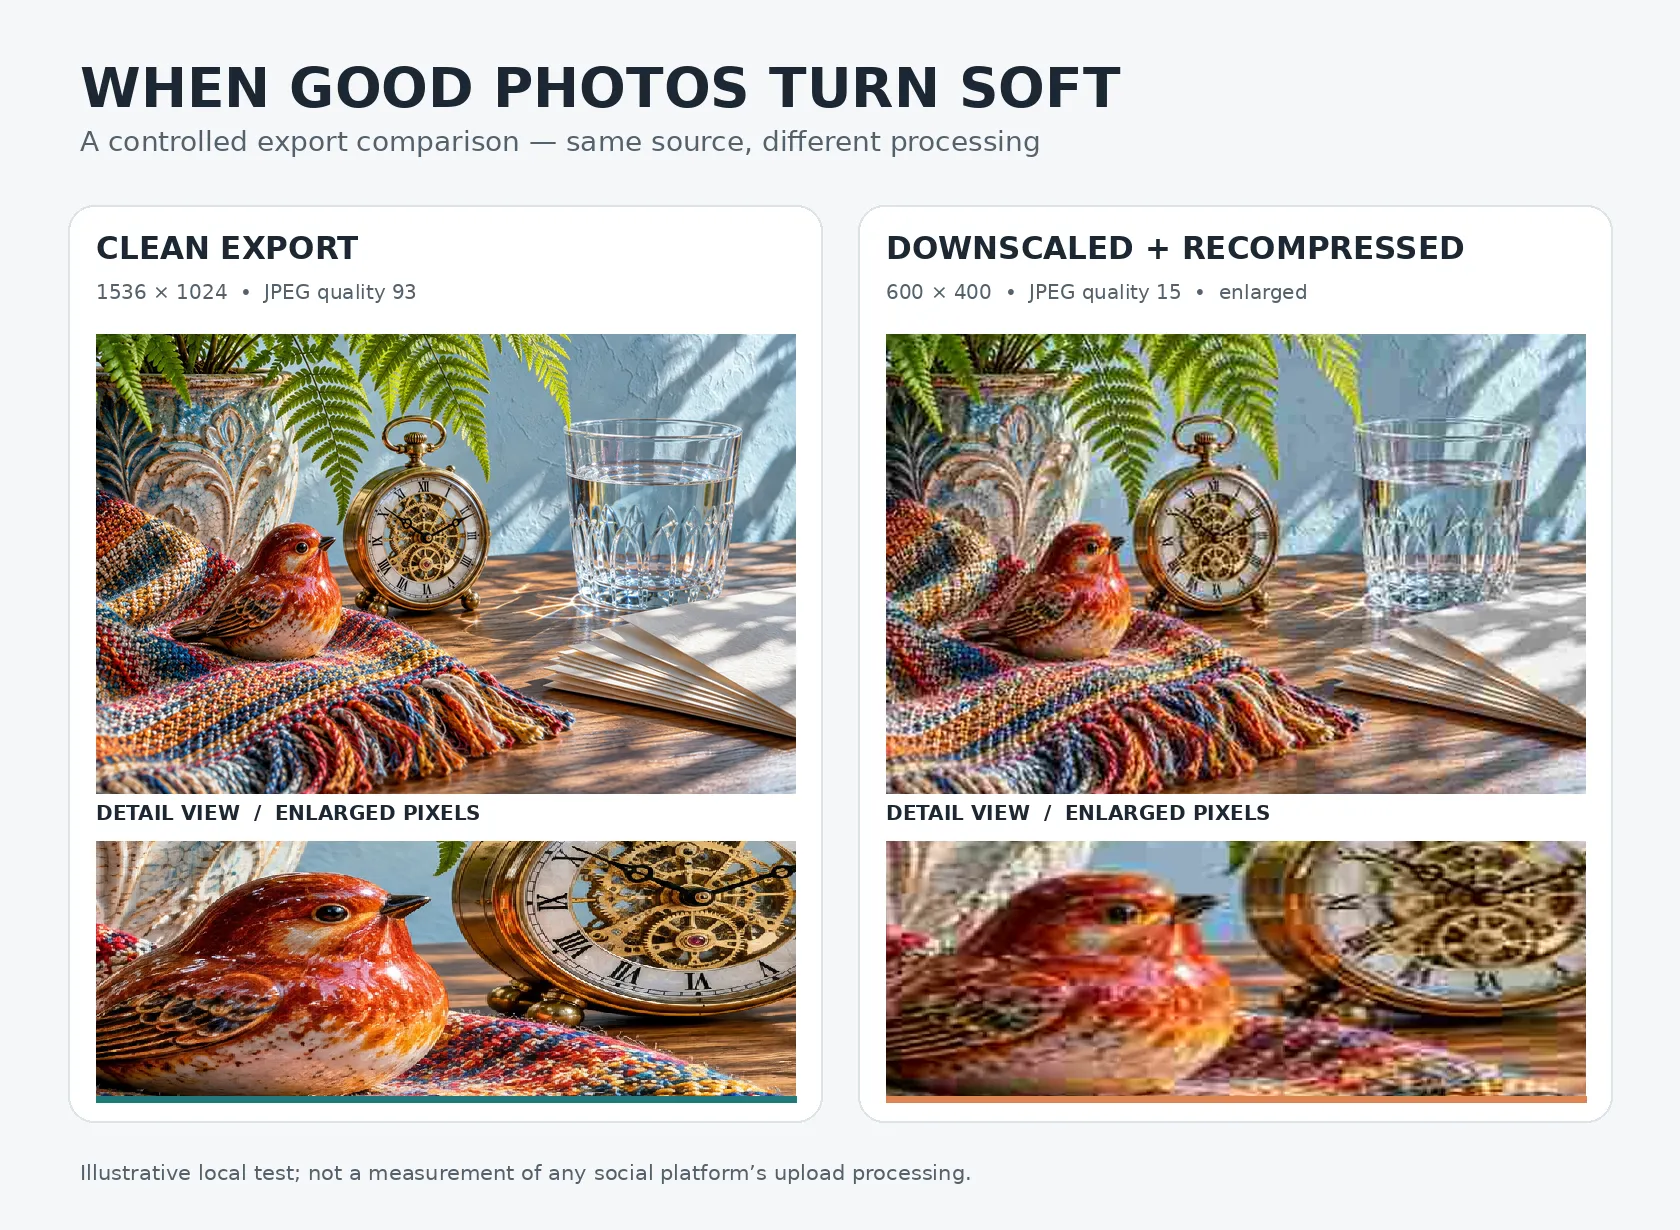
JPEG makes photographs smaller by discarding some image information. Aggressive compression can soften fine textures or create odd patches around sharp edges. Repeatedly editing and saving a compressed copy can add more damage.
Do this: export a new JPEG from the original using a reasonably high quality setting. View the result at 100% and pay attention to hair, fabric, leaves and lettering. If it looks worse than the source, raise the quality or change the dimensions and export again from the master.
Every editor uses a different quality scale, so there is no single percentage that works everywhere.
Fix 7 — Use a format that suits the picture
An ordinary photograph and a screenshot with tiny text are not quite the same task.
- A normal photograph — JPEG. Usually efficient for detailed photographs.
- A screenshot, diagram or small lettering — PNG. Keeps crisp edges without JPEG's lossy compression.
- An image on your own website — JPEG, WebP or AVIF. Choose based on browser support, size and how the result looks.
A Practical File Format Tip
Do this: save a text-heavy graphic as PNG if the destination accepts it. For photographs, compare a good JPEG with the alternatives rather than assuming PNG is always better.
Turning an already damaged JPEG into PNG will not bring back missing details.
Fix 8 — Send an original file when quality matters
Messaging apps often optimize photos for quick delivery. Their higher-quality modes can help, but they do not always send the exact original file.
Do this: if available, choose the app's HD or higher-quality photo option. If the image needs to be printed, edited or preserved exactly, send it as a file/document or use a transfer method that keeps the original. Then compare the dimensions of the received file with the source.
If you recover an image from cloud storage, check whether it was saved in original quality. For example, Google Photos distinguishes between Original quality and Storage saver, which can compress images and resize photos larger than 16 megapixels.
Fix 9 — Check how the website or app displays it
Sometimes the file is perfectly good, but the website stretches a small version to fill a large space. It may also show a low-resolution preview while a larger image is still loading.
Do this: compare the file's pixel width with how large it appears on the screen. If you control the website, provide an appropriately sized image and responsive versions for different displays. If you do not control the platform, try a correctly sized fresh export, then inspect the complete uploaded image rather than the feed card alone.
If every online version looks bad while your export is sharp, the service's processing may be the limit. You cannot force a third-party platform to preserve every pixel.
A simple example: which copy went wrong?
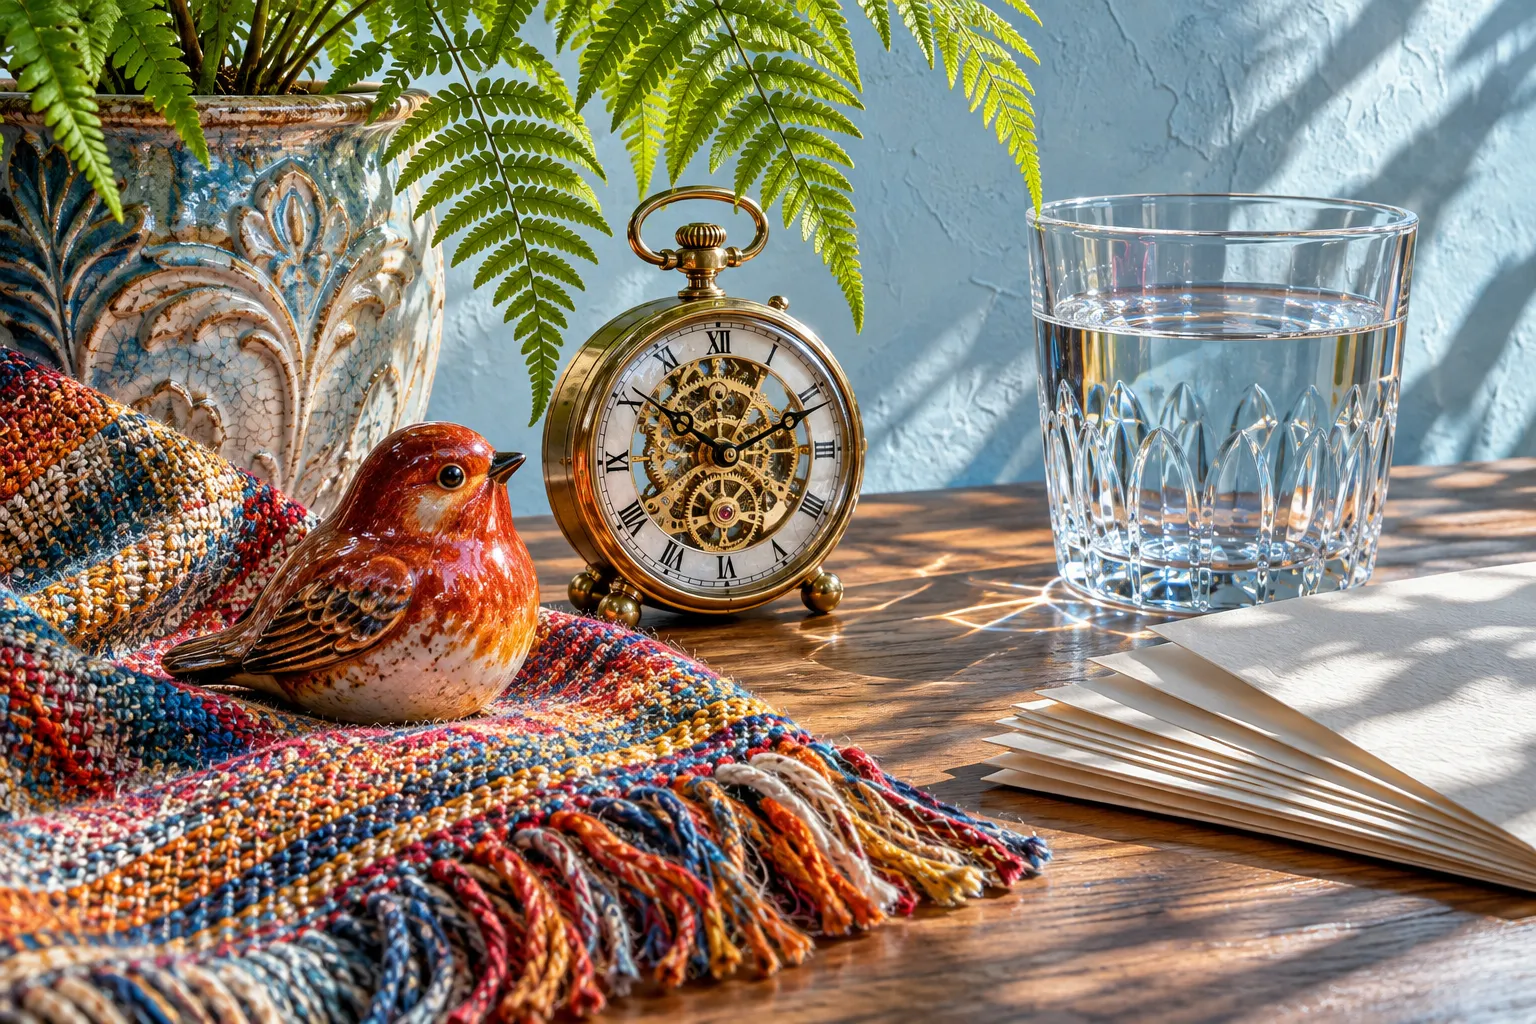
Imagine you have a sharp picture of a ceramic bird on patterned fabric.
- The original shows individual threads clearly.
- The export still shows the threads: your saving settings are probably fine.
- The downloaded upload shows a muddy pattern: the quality likely changed during or after upload.
If the Export Is Already Blurry
But if the export is already muddy, changing the uploading app will not fix it. Make the next export directly from the original instead.
This three-copy comparison is often more useful than trying ten random settings.
Why is my photo clear in my gallery but blurry in a message?
Your gallery may have the original while the messaging app shows a preview or a compressed copy. Open the received image fully and, if necessary, send the original as a file.
Should I always choose the highest JPEG quality?
No. Higher settings generally preserve more detail but create larger files. Choose a setting that looks clean at the intended viewing size. It will not restore a photo that was out of focus.
Is PNG always sharper than JPEG?
No. PNG helps with screenshots, diagrams and small text. A well-exported JPEG can look excellent for photographs and use much less storage.
Does changing 72 DPI to 300 DPI fix an online photo?
No. That does not add pixels. On-screen sharpness depends much more on real pixel dimensions, scaling and compression.
What if none of these fixes works?
Check the untouched original at full size. If it is already blurred, the issue may be focus, movement or low light. If the original and export are crisp but the online copy is not, the platform's display or processing may be responsible.
The one rule worth remembering
Original → Export → Uploaded copy. Compare those three versions in order. Find the first version that looks worse, and fix that step instead of guessing.
Keep the original safe, make new exports from it, and check the picture at the size people will actually see.
Sources and further reading
Editorial Note
Editorial note: The image comparison demonstrates how deliberate resizing and recompression can reduce quality; it does not measure the behavior of a particular platform. Menus and upload rules can change over time.